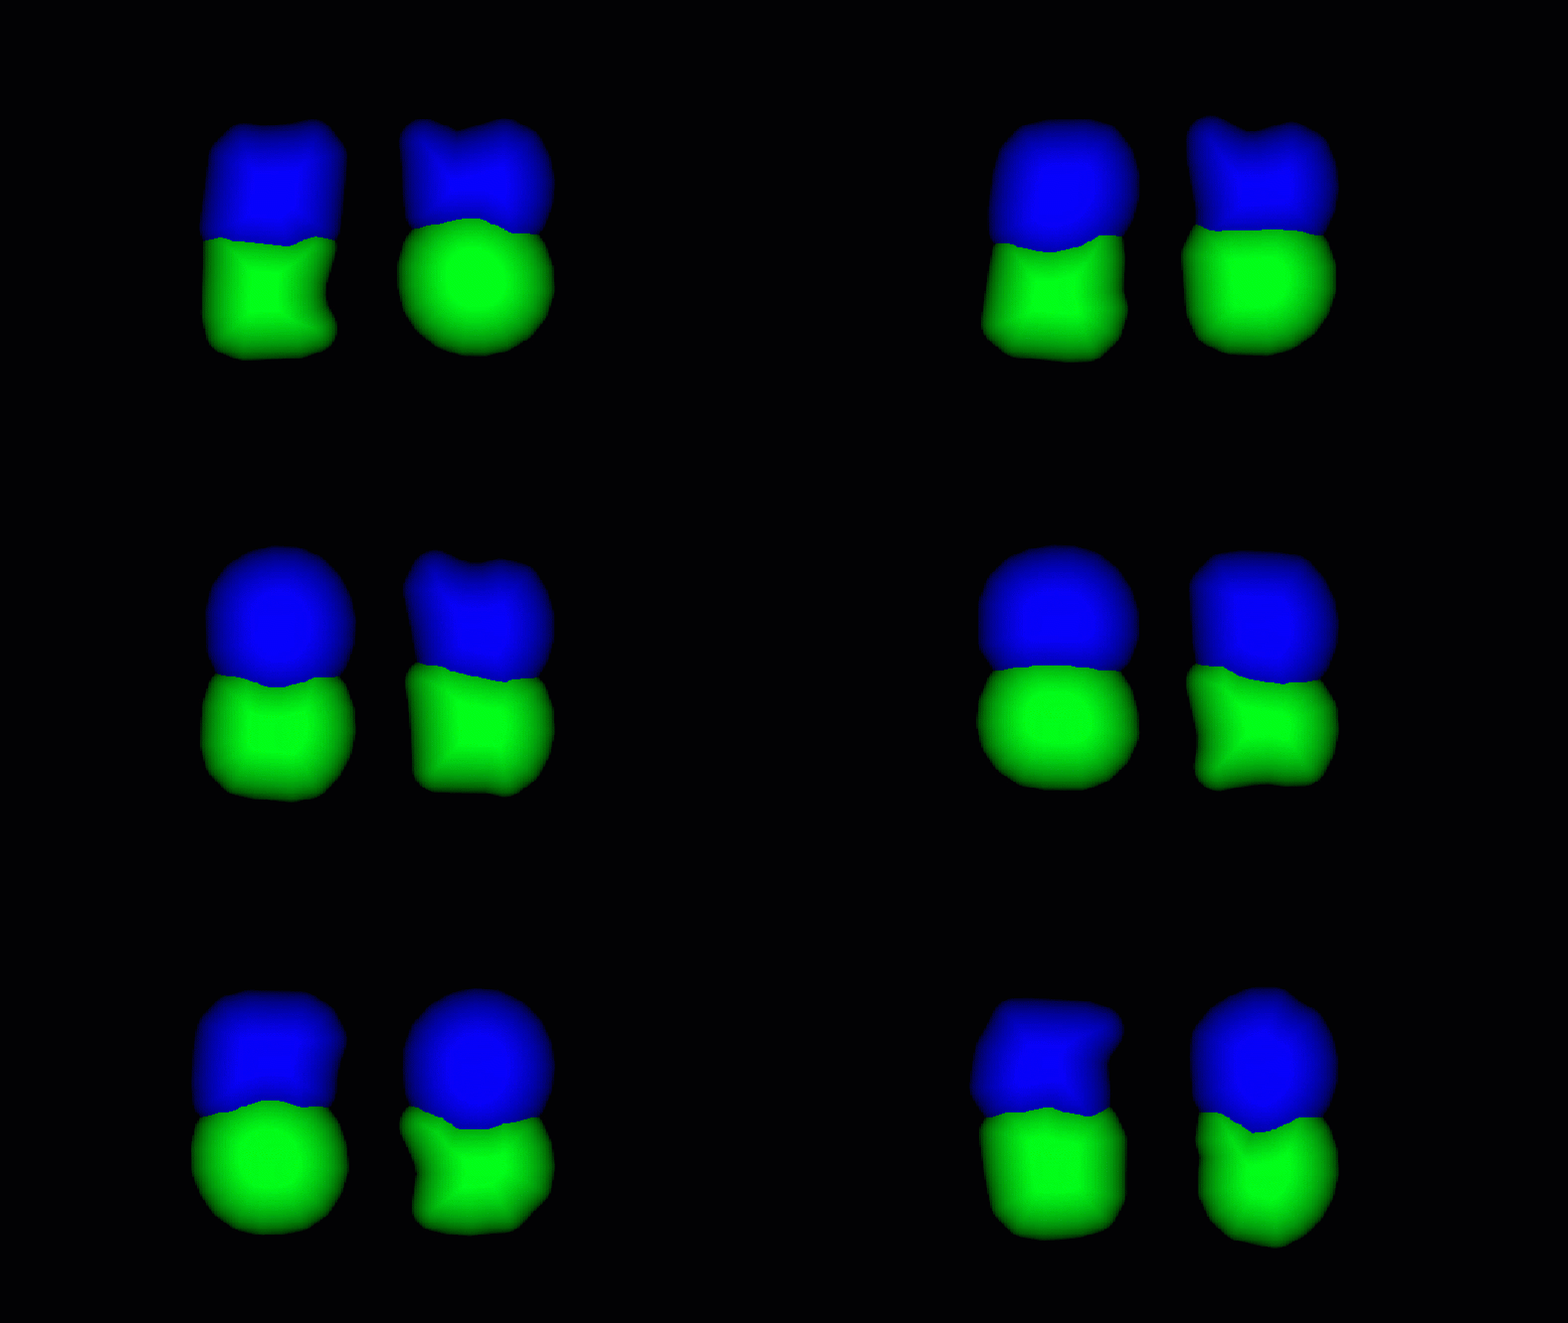
Before reading this post I highly recommend reading through Kelly’s blog post How to Simulate and Render Blobs As this all follows the work outlined in that post.
There was a time in my life when I had the pleasure of working alongside Kelly MacNeill. Kelly is working on a video game called “Vectorboy64” where the player gets to work with a simulated GPU. The goal being to solve puzzles and ultimately learn more about the inner workings of the GPU. If that sounds interesting to you, I highly recommend checking out his twitter as he often posts updates to Vectorboy64 there.
Before Kelly allowed the ray tracing craze to completely take over VectorBoy’s art direction, the main game looked a bit like this.
here's the finished look of the blobs in game. The blobs wiggle when a vectorboy lands on them! #vectorboy64 pic.twitter.com/1pzAGIuu7k
— Skelly MacNeill (@pyromuffin) February 25, 2019
The blobs were there to represent the texels of textures that the player was to write and read from with VectorBoy’s own assembly like shader language. The physics simulation and rendering method used to accomplish this look is outlined in his blog post
With all of this in place, Kelly came to me one morning with a problem he was trying to solve. He wanted someway to show his players different sampling modes. What should change on the screen to demonstrate you were now reading from your texture with a different sampling mode like bilinear filtering? After discussing the problem for a while, we determined that a nice solution would be to have his grid of blobs sort of melt together. The discrete texel colors would be merged resulting in one giant blob with bilinear filtering.
The issue with this approach was that Kelly was using triangle fans to render the blobs. The blobs couldn’t visually touch each other and there was really no way for one blob to know what the color of his neighbors were. We knew this solution would require some reworking of the current renderer.
After some thought I came up with the approach I’d like to outline in this blob errrr… blog post😊 This will be a more high-level overview of the algorithm. I’ll go into more details on each step in a future post.
We went with an approach involving SDFs (signed distance fields). If each blob could be represented as an SDF we could render outside the blob’s boundaries. We could fill the space between blobs and allow them to touch!
The blobs were represented as a series of points all sorted in counterclockwise order; to generate the SDFs I got the line segment between each neighboring point and used the point to line distance formula to get the shortest distance to each of the lines. Since the points are sorted in counterclockwise order, I also use the winding test to determine whether the pixel I’m sampling is inside or outside the blob. One nice thing about SDFs is you can create them with a much smaller resolution than your final render, so the low res SDFs for each blob are generated using a compute shader before rendering the final image.
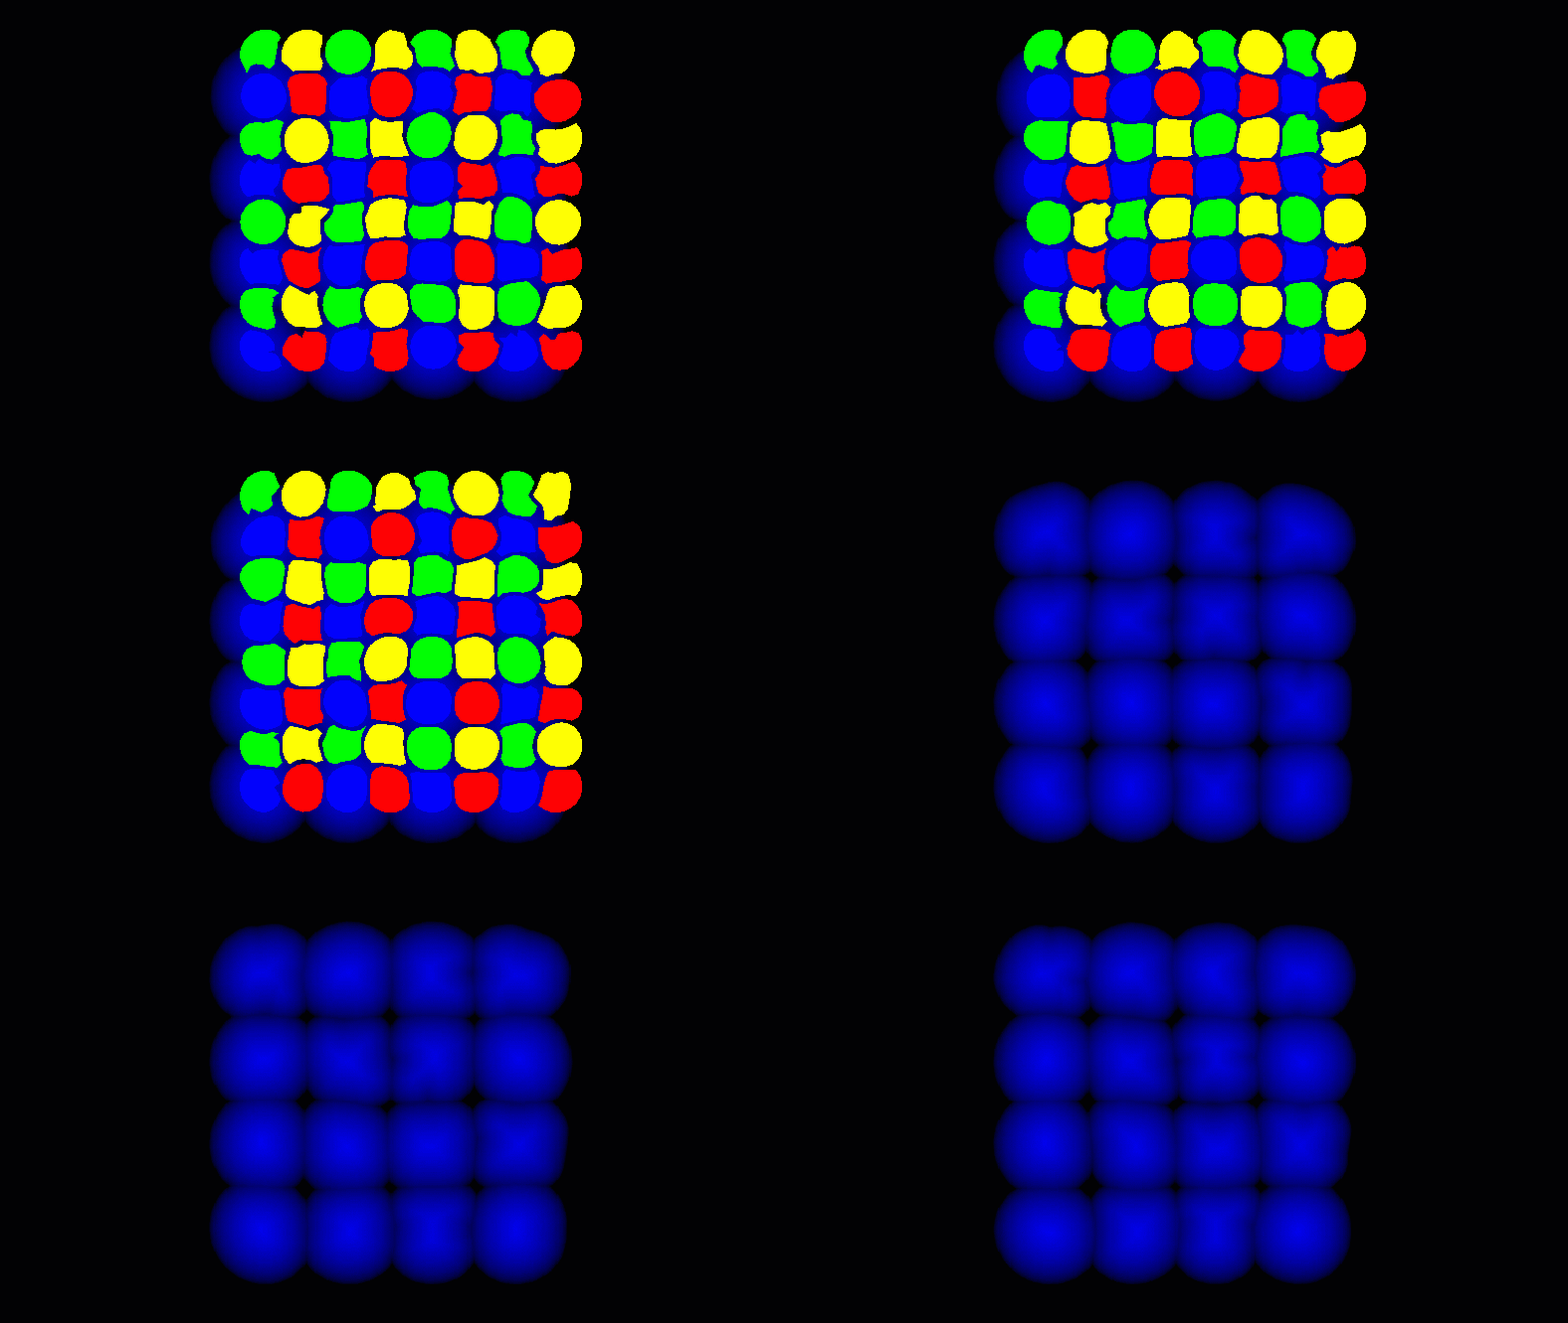
Since the blobs are laid out in a grid there was one major optimization I was able to use. I could separate the blobs out into four groups. I’d separate them out based on their position in the grid in a kind of 4 color checkerboard pattern as shown below.
Here I represent the groups as different colors and you can see the SDFs for the “blue” group being drawn behind the blobs.
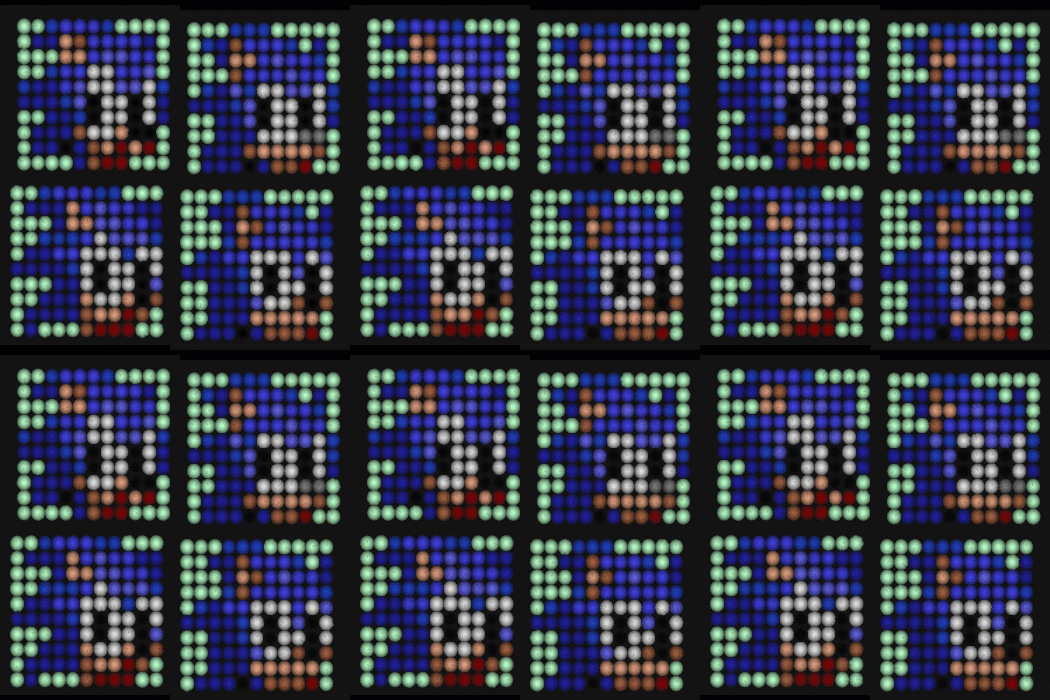
Why split up the blobs into groups like this? When doing bilinear filtering the 4 colors you need to sample will come from a single blob in each of these groups. Try it… At any point in the checkerboard texture, to determine the bilinear color you’d only need the colors and distances from a blue, green, yellow, and red blob. This was an awesome realization as now all I needed was to generate 4 separate SDF textures and I’d have all the information I would need to render the final grid. These were all generated at the same aspect ratio of the final grid image but at a much smaller resolution. Below is an image of a sonic texture being split up in the 4 groups.
There are a lot of details I’m leaving out on the generation of these textures. I wanted to keep this post pretty short, so I’ll follow up later with a more detailed explanation on each test and optimization I used to generate these textures efficiently.
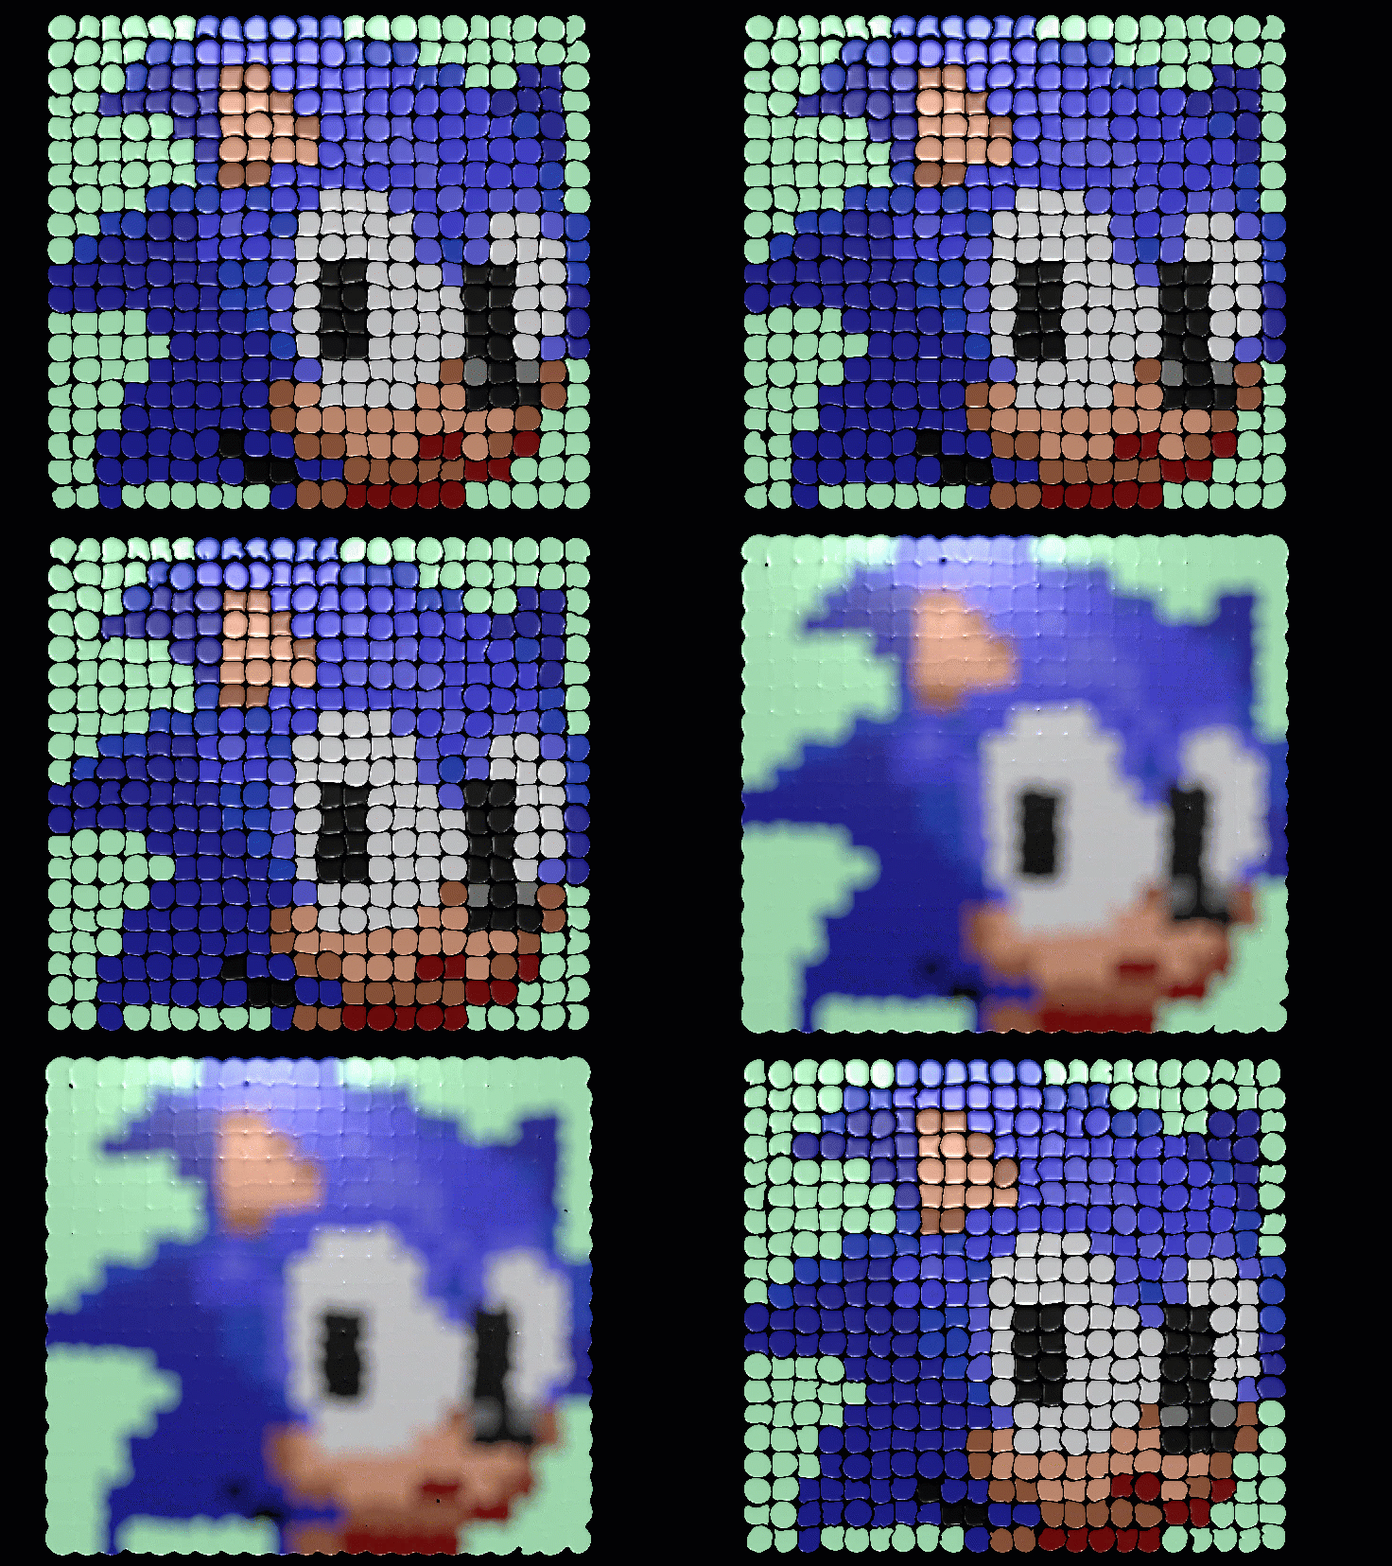
For the final render I had another compute shader that sampled each of these 4 textures. I had the colors and distance to the nearest 4 blobs and with this information I was able to get the blobs to melt together and emulate different filtering modes such as bilinear filtering. Below is the same sonic image as before being combined into the final grid of blobs. You can also see the quick transition between the discrete blobs and bilinear filtering mode.
I was very happy with the final results.
Since this was written, VectorBoy64 has gotten a major face-lift, so I’m not sure this will appear in the final game… but I still enjoyed working out how to accomplish the small vision we had for this one feature.
For now enjoy a small video I made with a much larger grid of blobs!
I’d like to take these ideas a bit further and maybe use these SDFs to create some interesting particle effects. Stay tuned.
Until then,
Alex Gilbert


nice